How does one take a guitar from
this
to this?
Well, that's what I'm going to share with you today! This is an absolutely fantastic project that my from CeeDro set me to task on, and I'm immensely grateful that he did! It's been a wonderful learning process and a whole lot of fun. I've always been really curious about customizing instruments and immensely flattered whenever anyone mentions their interest in such a project. This was one commission I took with great enthusiasm!
To learn more, read below!
First off, that beautiful baby blue color that the guitar currently is?
Sorry, but I felt it necessary to strip it.
I wanted to get to the base frame of the guitar, below the thick glossy surface coat.
To do so, CeeDro recommended I use a product called Aircraft, which is widely available at automotive stores. It's used to strip paint from cars or airplanes, so it works quite well at cleaning the guitar's surface and preparing it for another paint job.
I went into the alleyway behind our garage for maximum ventilation purposes. Following the instructions on the canister, I applied the product and waited eagerly to see some signs of activity. It didn't take long before the surface began to bubble.
This resulted in the top coat becoming pliable, easily removable with a basic kitchen butter knife (it's what I had on hand).
After applying another coat or two of the Airplane and vigorously scraping the surface, I began to see the body of the guitar peeking through the paint.

Time to grab some handy dandy sandpaper I picked up at the local hardware store!

After applying some elbow grease, some tunes for motivation and a fan to blow the dust off, I achieved this.

At this stage, I figured it was probably clean enough to begin applying the primer coat. I intend to leave the bottom of the guitar with the original paint so that it won't rub or chafe the body while being played and to preserve that pretty baby blue color. It seems fitting for the design. :)
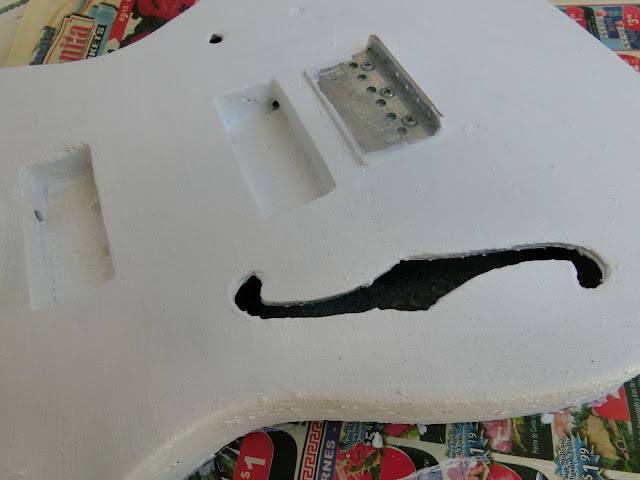
I applied several thick layers of primer until I achieved a satisfactorily smooth surface.
Let it air dry for a couple days while preoccupied with work, life, and other nonsense.
Using a water based marker I drew on a preliminary design.
Once satisfied with the sketch, I began applying layers of color.

I utilized a mixture of acrylic paints and glitter glues (yes, really!) to get the desired gleam and glamour that any gorgeous mermaid deserves. She's far from completed as there's many more hours of paint, detail, and texturizing to come, but here's a glimpse of the process so far!
What do you think?
Would you ever customize an instrument like this?
I'm really digging it and plan to look into buying used instruments to reinvigorate and customize myself. It's a lot easier than I expected and there are countless methods to dabble in, so I've got my work cut out!


No comments:
Post a Comment